
The Acyclovir versus lemon balm debate: Cold sores vanquished
/Our local doctor and I didn't get off to an easy start. He said he'd seen far too many "enthusiasts" who thought they could do without medicine and "just use herbs." He was besieged by middle-class mothers balking at immunizations.
And then there was the fact that I was about the strangest parent he'd met--legally blind, a foreigner and with two adopted kids of a background he considered at best "suspicious." He told me at one of our first meetings that I was the kind of person who would get reported to child protective services at the slightest provocation. But the only other local pediatrician had already thrown us out on even flimsier grounds, so I stuck it out.
But eight years on, after many bumps and jolts we now have an exemplary relationship in which, if I need help, I call and he trusts my descriptions of symptoms over the phone, asks me to bring a child in or helps come up with a home solution. We brainstorm herbal medicines together when we can and I trust his recommendations when we have to use potentially harmful antibiotics.

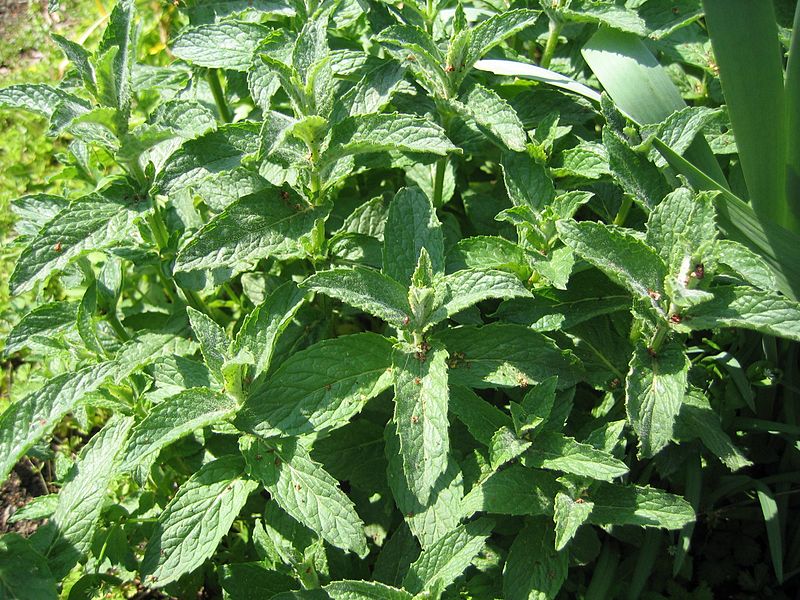
Creative Commons image by Tristan Ferne of Flickr.com
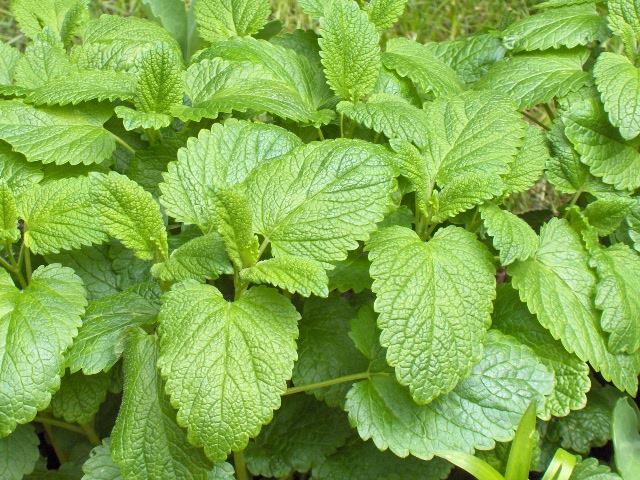
This past spring there was a major outbreak of chicken pox in the local school. Czech doctors are not as quick to vaccinate against the disease as those in the US are now, claiming that the vaccine is low on effectiveness and high on unintended consequences. So, I set about researching chicken pox symptoms and discovered that one of my favorite herbs--lemon balm--can help to mitigate the symptoms.
When I was sure that my children had been exposed to chicken pox by paying sympathy visits to the sick, I started giving them lemon balm syrup in hopes that they would not have to suffer with too many blisters. And then my kids were the only ones in their classes who didn't get chicken pox.
The next time I talked to the doctor, I thought back on our first meetings and had to smile. He leaned eagerly across the desk, swapping information about medical trials with lemon balm. He was as curious as I was.
Did we actually fight off chicken pox with lemon balm syrup? Given the research, it seems at least possible. But there are plenty of other possibilities. The children may already be immune one way or another. And sometimes you just get lucky--or unlucky if you actually wanted your children to get chicken pox over with in cool weather.
I told the doc how I have used lemon balm salve to deal with herpes cold sores for years and found that it is just as effective as the antiviral drug Acyclovir.
"I've concluded that it is actually more effective," he said. "And Acyclovir has so many side effects. If you know how to use lemon balm correctly, that's superior."
Lemon balm was long thought to be a very mild herb, used as an anti-anxiety tea. But then a German medical trial in 1999 showed that a cream made with dried lemon balm extract could significantly improve cold-sore symptoms and increase blister-free intervals.
Dried extract may be more easily quantified, stored and sold commercially, but it is far less effective than fresh and otherwise minimally processed plants. I have found that lemon balm salve made with fresh leaves and olive oil doesn't just improve cold-sore symptoms, it can essentially vanquish them, driving the herpes virus into a decade or more retreat. After suffering from many cold sores in my twenties, I haven't had a full blown one in ten years and only even had the mild beginnings of a sore, when I neglected to use lemon balm salve at the first sign of a potential flare up.
Over the past two decades new research has confirmed and expanded upon the original studies, showing lemon balm to be an exceptionally powerful antiviral medicine. When even my conservative local doctor, who didn't used to like "herbal frippery," sings its praises and denigrates Acyclovir, I'd say the jury is in.
For a salve recipe that can be used to make lemon balm salve for cold sores and chicken pox blisters click here.
For a more detailed discussion of lemon balm's herpes-fighting capabilities click here.
For more lemon balm recipes (including delicious popsicles) and uses in treating strep throat, anxiety and insomnia click here.