
Five herbs to have in an activist first aid kit
/We’re in the middle of the Autumn Rebellion, the global actions of Extinction Rebellion focused on bringing acute awareness and immediate action to solving the human-caused climate crisis. It’s a time for practical things, even in blogging.
So, here is my quick guide to the most essential herbs—not just for first aid kits, but—specifically for activist first aid kits. (There are some unique issues to take into account.)

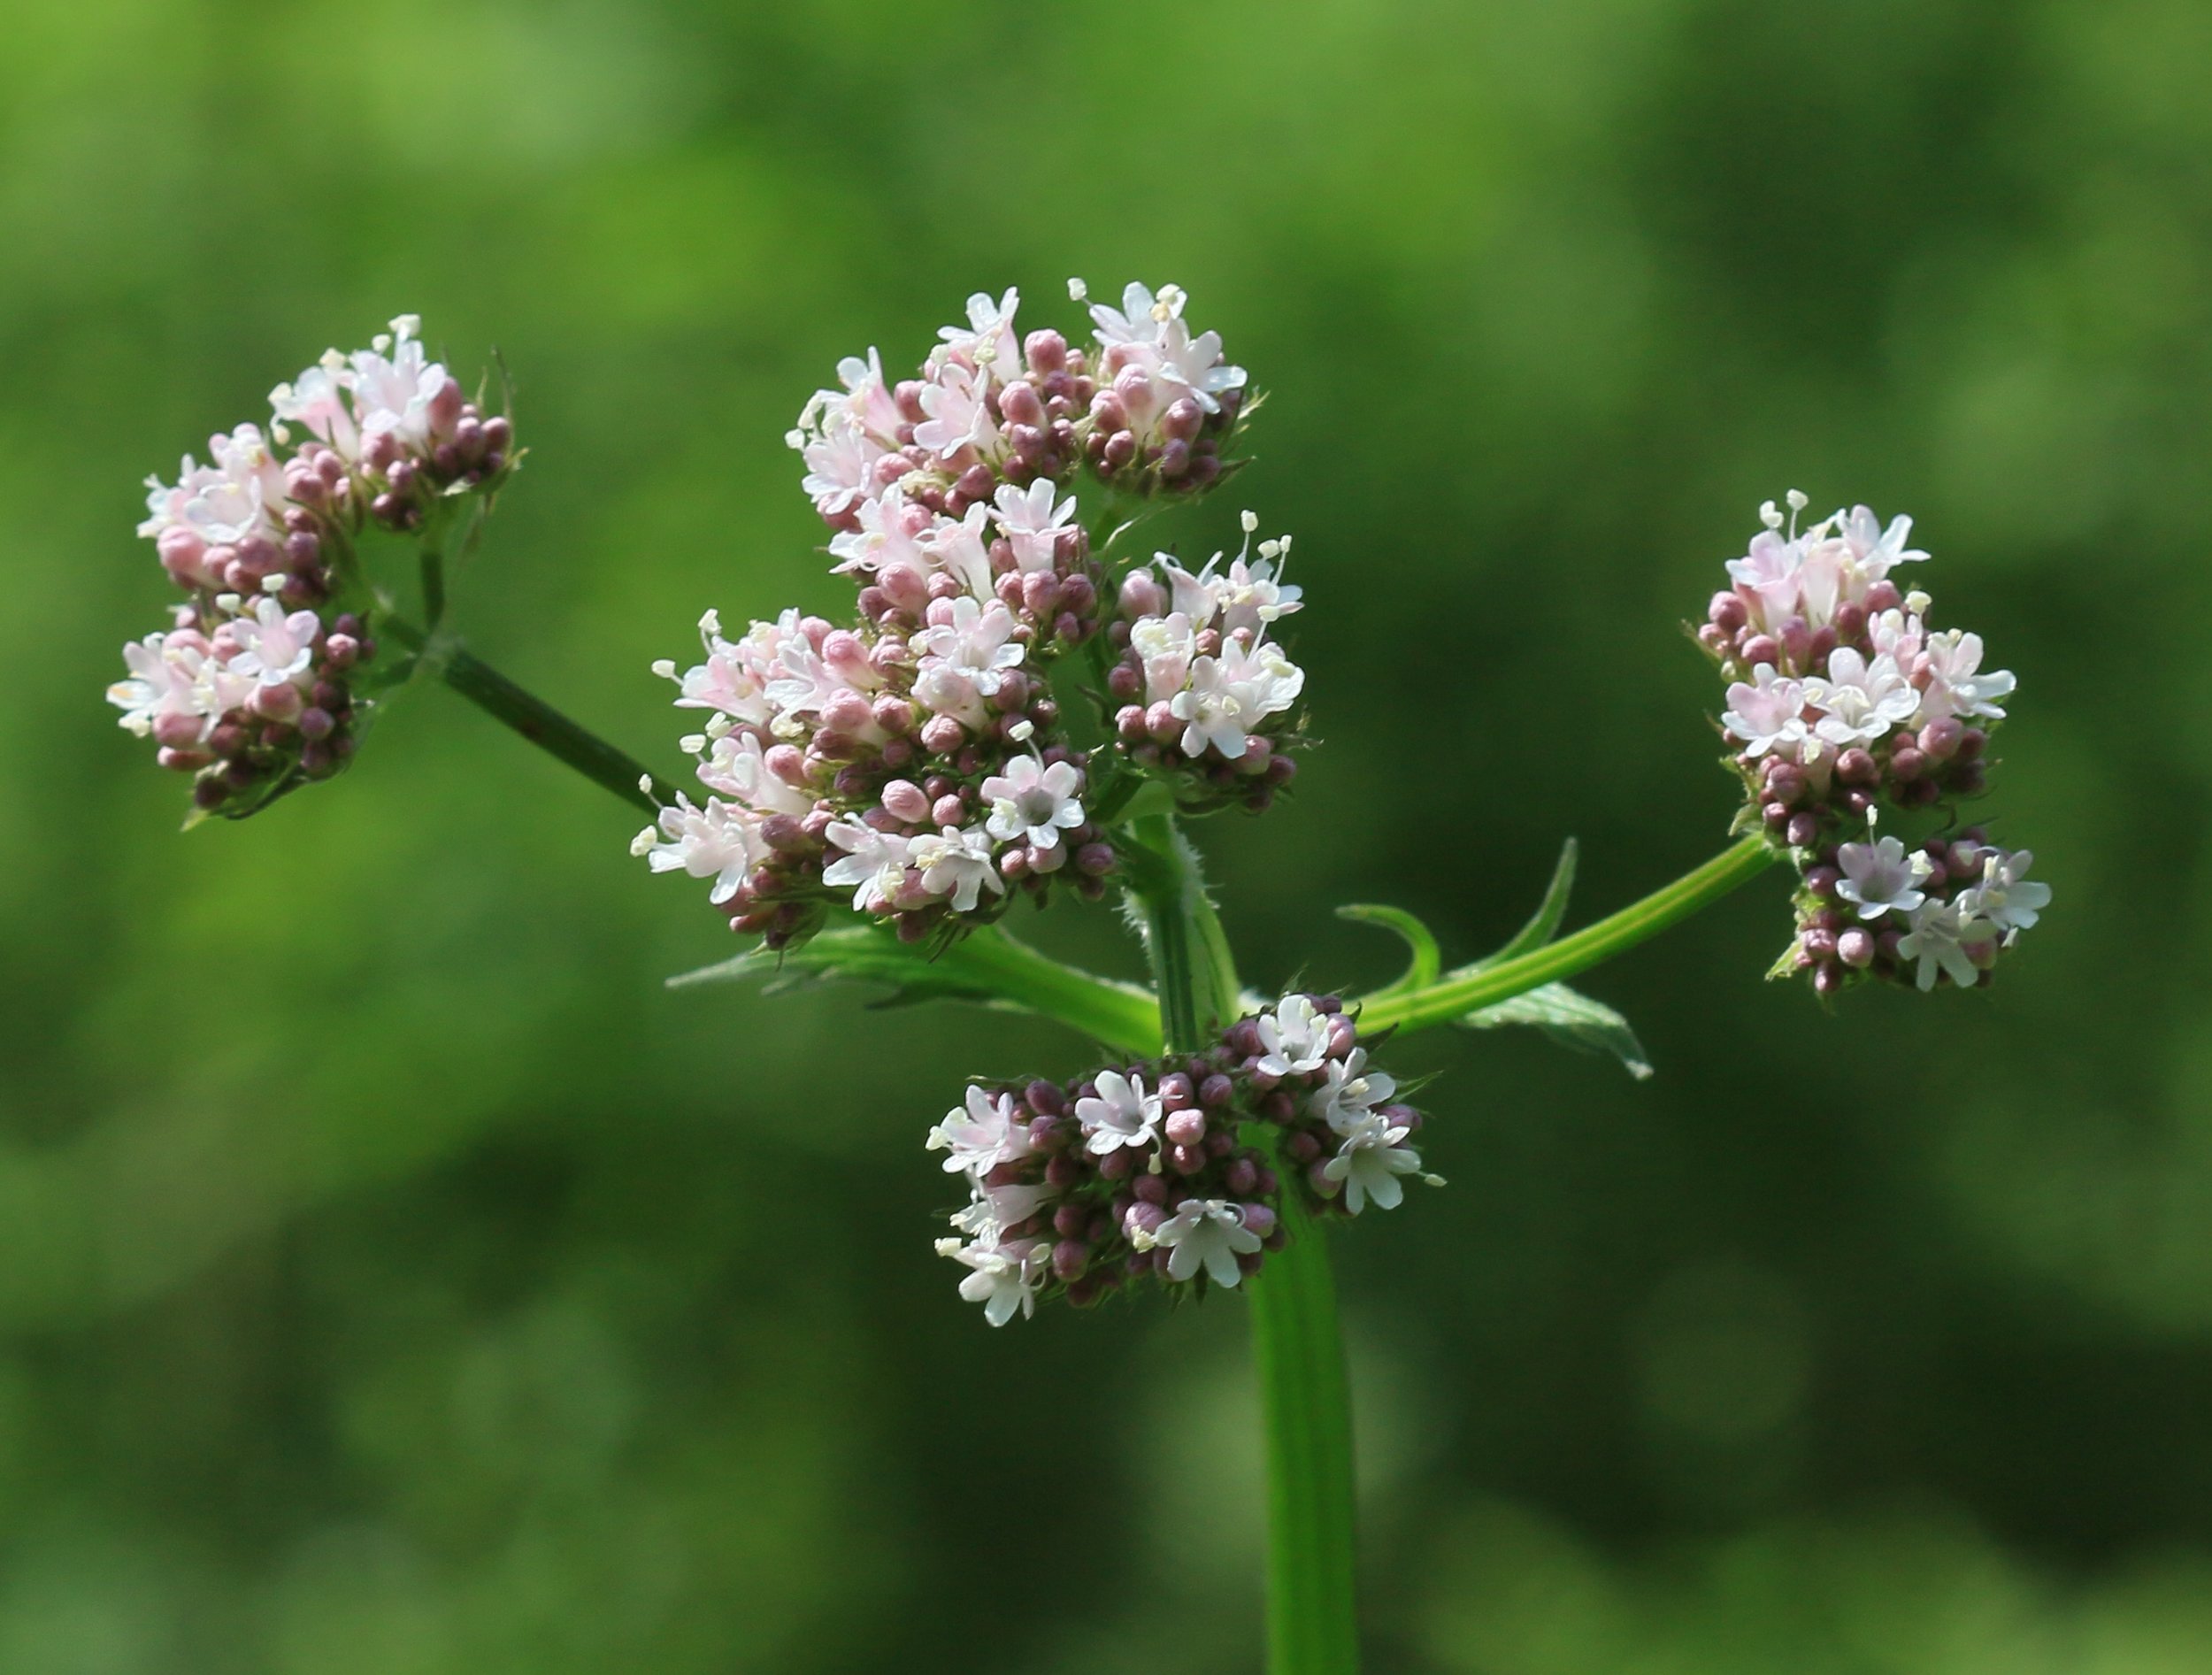
Image by Arie Farnam
There are plenty of herbs that are helpful in first aid, but in modern reality, first aid kits have to be portable and we often need them in cities, on roads or in places where a lot of fresh herbs aren’t available. Furthermore, activists need first aid kits that address the basic needs of humans in stressful and physically risky environments, as well as the means to safeguard long-term health and to counteract possible chemical attacks by security forces.
While I may have a larger supply of herbs at a tent or first-aid station at a major action, the question of which herbs to put into a light field kit is of crucial importance. Most of the time, for field kits we’re talking tincture and salve, but there is one exception to that rule.
Here are my five top herbs to keep in a first aid kit:
Lemon balm: For herpes (as a salve), strep throat, calming, emotional support and as a sleep aid in uncomfortable conditions (as a tincture). While not specifically a disinfectant herb lemon balm salve has been shown to be as effective as Acyclovir in fighting off cold sores and it is also “specifically active” against the streptococcal bacteria responsible for most bacterial throat infections.
Yarrow tincture: For cramps, sore muscles, inflammation, swelling, wound disinfection and to slow bleeding. Often referred to as nature’s Ibuprofen for its dramatic anti-inflammatory properties. It also combines well with plantain in a general healing salve for scrapes.
Mullein tincture, glycerate or syrup: For stomach problems and breathing troubles. Mullein helps an acute cough right away and heals damaged lungs. This is the most obvious difference for activist kits. Mullein is the best known herb for recovery from pepper spray or tear gas attacks.
Echinacea tincture: A good immune support and prevention at the first sign of sickness. I add echinacea to general wellness and boosting drafts for activists. If taken only at times of extraordinary stress, it’s immune support and energy enhancing effects are notable.
Ginger syrup, candied ginger and also thin slices of fresh root: Fights nausea and calms the stomach, warms the extremities and aids breathing. This is the one herb you can literally hand out like candy. On a autumn blockade with a cold mist coming down, distributing thin slices of fresh or candied ginger root can both warm and sooth activists much as alcohol might without the undesirable effects that make alcohol unwelcome at most actions.
There are plenty of other things that might be useful, but this is what I would take if limited to five herbs, partly because of the climate I live in and what grows here locally, also because of what I have found most helpful for the people around me.
St. John’s Wart and calendula would be good alternates for echinacea and yarrow but some people react badly to St. John’s wart and while it can help with some viral infections, it makes people oversensitive to sunlight. Calendula is helpful for most skin problems and fights bacterial and fungal infections, but it doesn’t have the uses yarrow has in slowing bleeding or soothing inflammation.
Thyme is a good alternative to mullein for breathing problems and it has its own digestive uses but in a pinch I’d choose mullein simply because I find that it’s affects are more short-term and short-term relief is what I want in a first aid kit.
Cautions:
While lemon balm is very handy for preventing the flare up of a minor sore throat and usually can handle the very beginnings of a bacterial infection, strep throat is a serious condition that requires professional medical attention and has historically (before antibiotics) led to many deaths. Especially in stressful, cold and wet conditions out in the elements, be aware of the dangers of strep infection. Particularly in the case of throat and gland swelling, advise patients to get indoors and seek out medical attention immediately.
Yarrow is related to ragweed and people with ragweed allergies may react poorly to it. Also, while yarrow is easier on the kidneys than Ibuprofen, it shouldn’t be used in high “pain-killer doses” (about 1 tsp of tincture every 3 hours for an adult) for more than a few days running.
Ginger will calm some stomach problems but will not do much for stomach flu, food poisoning or other infection. If stomach pain or nausea increases and results in repeated vomiting, it is time to get off the front line and seek medical attention.
Mullein tincture may help acute breathing problems caused by chemical agents used for “crowd control” but if it does not help and breathing problems continue, seek out professional medical help. It is also ineffective in the other major problem with these chemical weapons, which is eye and skin irritation. The key thing to remember is that these chemicals are acidic and that is the cause of the adverse reactions. Neutralize the acidity with a liquids with a base ph. Water mixed 1 to 1 with antacid solution is helpful. A wash of soy milk has also been known to prevent acid burns.