
Easy vegetarian, herby campfire roasting - Fire Snakes
/The summer camping season is officially open in most of the northern hemisphere. Sleeping, cooking, eating and playing outdoors and close to nature is a good way to ground your body and soul, build self-sufficiency skills and relieve the stresses of the daily grind.
But being crammed into a crowded campground full of fumes and junk food may not qualify as either healthy or stress free. The negative aspects of camping can be mitigated by seeking out places that are not overburdened with visitors or even just sleeping and eating outdoors in your own backyard.

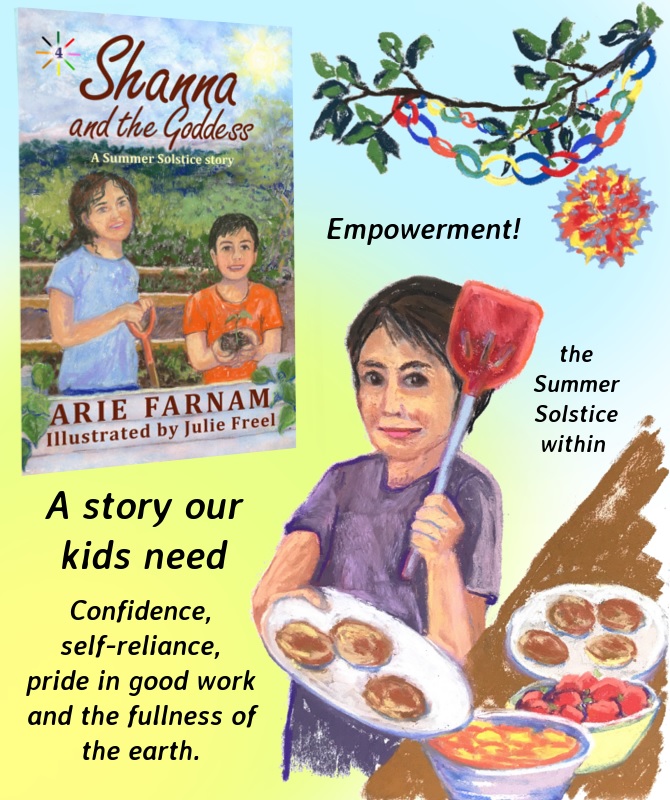
Illustration by Julie Freel from the book Shanna and the Goddess
The act of sitting around an small fire and preparing food is extremely powerful, and that probably has something to do with our genetic memories of thousands of years of doing just that with our families and clans. Cooking outdoors over a fire connects you to ancestors, regardless of what corner of the earth your people come from. Beyond just the closesness with nature, that connection can be healing.
But most of us are overwhelmed enough by simple camping and cooking a real meal over a fire can be daunting. The easiest thing to prepare over a fire is something you can put on a stick and roast. Most of us roasted hot dogs and marshmallows as kids. But those may not be endlessly appealing today.
Whether you're vegetarian, vegan or just tired of the choice between ultra-unhealthy sausages and ultra-sugary marshmallows as campfire roasting treats, I have an easy and delicious option for you. Much tastier than just roasting a piece of bread over the fire, you can fire-bake your own bread in a few minutes, and it will have all the flavor of fresh bread along with the tang of the campfire. It's simply delicious.
This recipe is a free excerpt from the children's and family Summer Solstice story Shanna and the Goddess.
Fire Snakes
Fire snakes are bread dough formed into long snakes, twisted around a stick and baked over an open fire (or in the oven, in a pinch).
They are very simple to make and can be dipped in everything from peanut butter and honey to cinnamon and sugar or ketchup, herbs, cheese sauce and bacon bits. Toppings are unlimited.
You can use any yeast or sourdough bread recipe that is not too sweet (sugar will tend to burn, so add it after cooking). Here is a basic recipe:

- 1 1/2 cup warm water
- 3 teaspoons active dry yeast
- 4 cups (or more) all purpose flour
- 1 teaspoons sugar
- 2 teaspoons salt
- 2 tablespoons olive oil
- A handful of dried or fresh, savory herbs, such as basil, thyme or rosemary (optional)
Mix the water, sugar and yeast in a bowl and let it sit for ten minutes.
Then stir the flour and salt in a large bowl.
Add the yeast mixture and the olive oil.
Mix well and add extra flour as needed until it forms a heavy dough that can be molded.
Let it rise for an hour.
Cut off pieces about the size of a golf ball.
Sprinkle flour on a clean surface and on your hands and roll out the balls to form snakes. (With large hands you can do this without a rolling surface in camping conditions but it can be tricky for kids).
Then poke a marshmallow roasting stick through the end of a snake and wind the rest of the snake around the stick in a corkscrew pattern. Pinch the end together around the stick firmly.
Roast over the fire and dip it in toppings as you eat.