
Lady's mantle of humble beauty and healing wounds - Home Medicine Cycle 36
/Lady's mantle is one of those good, simple herbs that is easy to spot and recognize. It also has very specific medicinal uses. All in all, it is one of my favorite herbs--dependable and helpful.

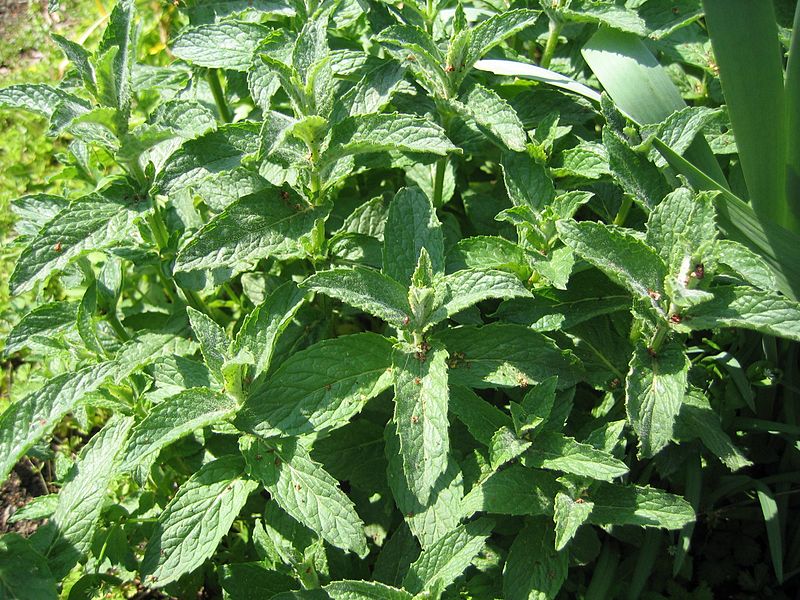
Lady's mantle leaves with their distinctive shape - Creative commons image by Chris Cardew
The most interesting thing about lady's mantle is the shape of its leaves. They look a bit like a fan but the easiest way to describe their shape is that they look exactly like what the name says they are. They look like a medieval lady's cloak--if you turn them upside down. Once you've handled a lady's mantle leaf and thought about how it looks like a cloak, it is very unlikely you'll ever have trouble identifying it again.
Naturally, medieval Christian herbalists with their propensity to ascribe meaning to the shapes of herbs--if nothing else as an aid to memorization--decided that lady's mantle was the herb of St. Mary, the holy virgin, because it looked so much like a traveling cloak. it also has a reputation for saving people from terrible wound infections and it's even useful in women's health. Whether or not you believe the shape of a plant has anything to do with anything, remembering this anecdote can remind you of the plant's properties.

Lady's mantle flowers - Creative Commons image by Victor To
The most important medicinal quality of lady's mantle is the healing of wounds. Partly the healing comes from properties of the herb that dry the wound out and thus prevent infection. Other chemical compounds in the leaves help to slow bleeding. A strong tea (decoction) of fresh or dried leaves makes a good wash for scrapes and cuts. I have not encountered it used in a salve and it's possible that the compounds of this herb don't keep well. It is taken internally as a tea or tincture at times to slow bleeding and to moderate excessive menstrual flow. In Sweden the tincture is used for diseases that cause convulsions or muscle spasms.
This is a gentle plant that usually grows wild in the corners of my garden. I don't have to cultivate it and I just pick it while I weed. Lady's mantle grows best in cool moist climates such as central and northern Europe.