
When fiery cayenne takes the pain away - Home Medicine Cycle 37
/It's counter intuitive. If you've ever bitten into a cayenne pepper or even eaten something with too much dried cayenne powder in it, you surely are no stranger to pain. And yet cayenne pepper can also take pain away and combat some of modern medicine's most distressing foes.
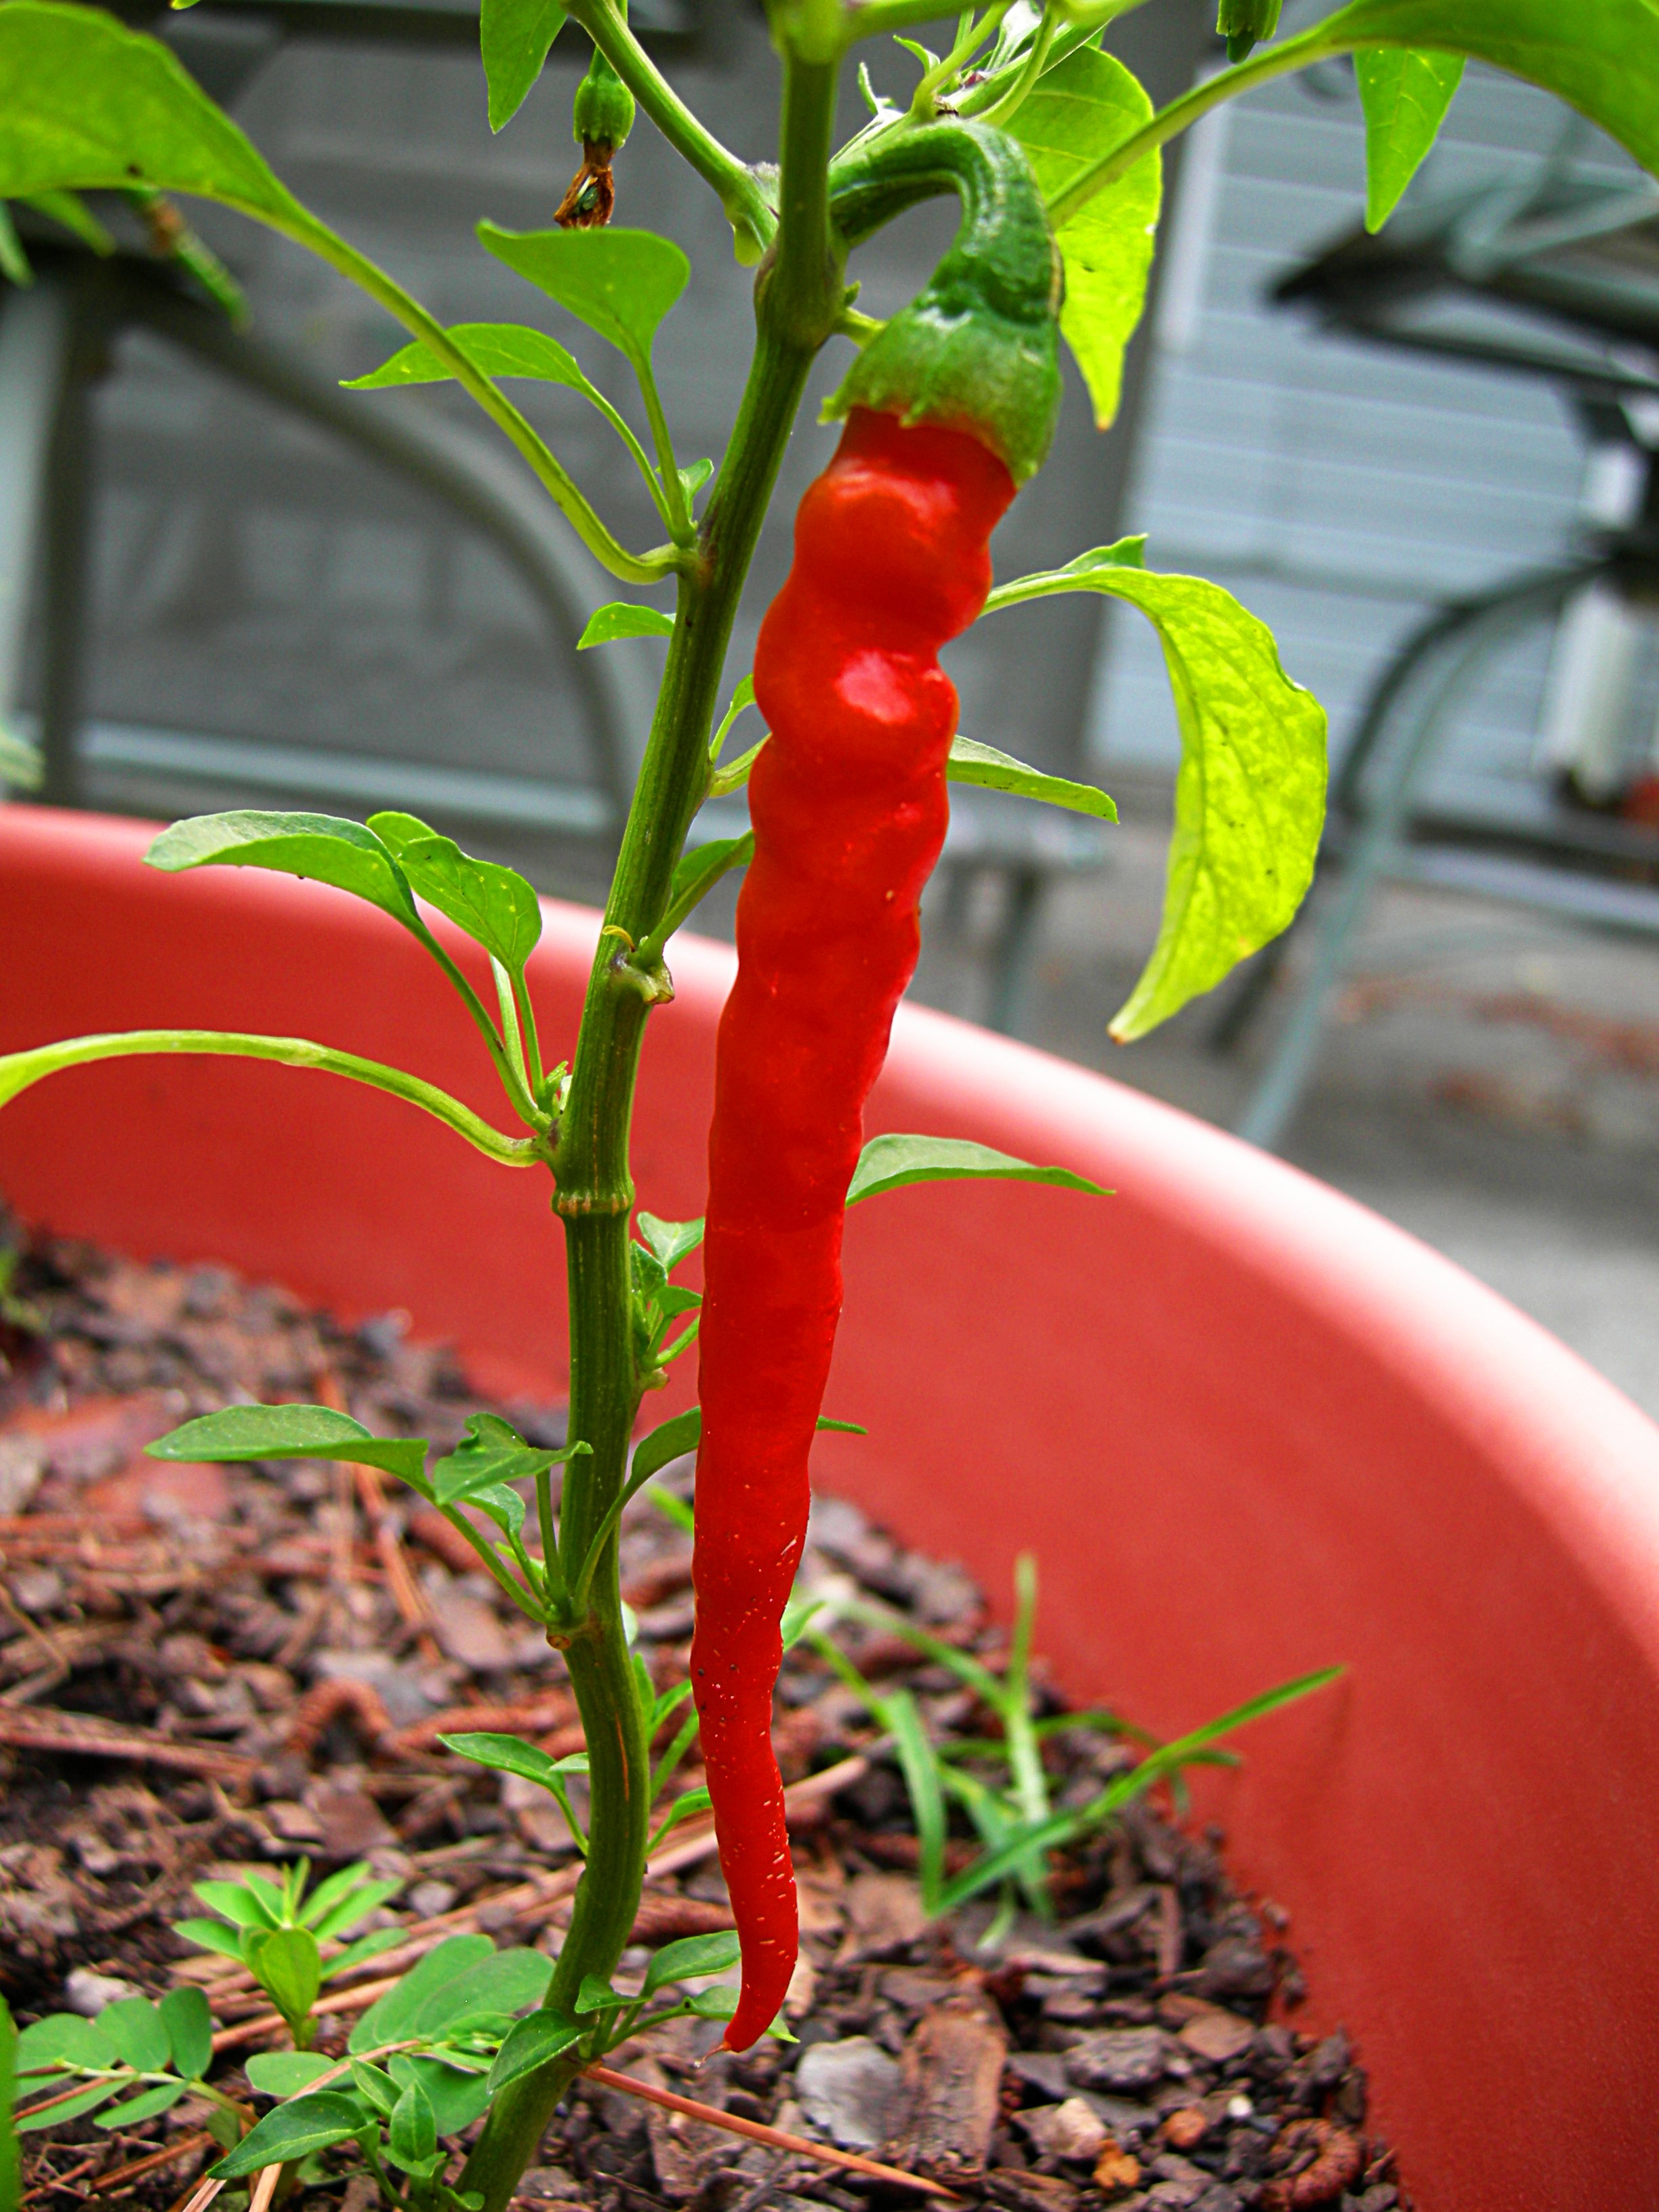
Creative Commons image by Chris Vaughan
Many herbalists carry cayenne tincture in their first-aid kits to stop heart attacks. Some go so far as to say that if you want to know only one herb, you should know cayenne because it simply saves lives. Here is a recipe for tincture which can be used with cayenne.
In emergencies patients have also been saved from heart attacks by a teaspoon of cayenne pepper from the spice shelf mixed in a cup of hot water to make a kind of cayenne tea. Cayenne pepper has been used by doctors for heart disease and as a supplement for cardiovascular health.
Several studies have shown cayenne to be effective in preventing heart attacks, managing diabetes and mitigating painful symptoms caused by chemotherapy treatments. One study in 2005, even showed cayenne killing cancer cells while leaving healthy cells unharmed.
On the tongue cayenne may burn, but on unbroken skin or even the lining of the stomach the burning turns to a soothing, tingling warmth. Certain types of stomach discomfort--including dyspepsia and ulcers--can be quieted with capsules of cayenne pepper powder taken both immediately for first aid and as a regular supplement for people suffering from chronic conditions.
One of the most widespread uses of cayenne as an herbal medicinal is for the treatment of joint pain, including arthritis. Rubbed on the skin, cayenne juice or ointments made with it feel warm or even hot. The sensation is generally soothing but the skin technically registers pain from the burning of the cayenne and a neurological process causes the nerves under the skin to suppress the sensation of pain in the joints below.
With it's heating properties, cayenne also breaks up congested mucus. Cayenne can thus be effectively used to treat viral infections like the flu whenever there is a lot of mucus congestion. The spicy juice or tea made with cayenne can also sooth a swollen and painful throat when sweet lozenges have a much smaller effect. And some of the most irritating dry coughs can be stopped with cayenne. Some use it to prevent migraine headaches.
Cayenne has been found to be effective against some fungal pathogens. Still I must bust a few myths here. An old globetrotter's legend claims that cayenne and other hot peppers kill food-born bacteria and parasites and thus eating spicy food may be a way to stave off traveler's diarrhea or even food poisoning in areas where the sources of food may be sketchy. Unfortunately, this myth is baseless. Cayenne, despite all its fire is much less effective as a disinfectant herb than many humbler plants.
However, the rumor may have been started by the fact that many cultures have used cayenne as an aid to digestion for hundreds of years. The hot peppers in your food, particularly cayenne, do provide health benefits to the stomach, but this has much more to do with aiding metabolism, relieving intestinal gas and encouraging the healthy motion of the intestines. That feeling you may have that bland food makes you stuck and some hot peppers tend to get things flowing... well, that actually is based on some amount of fact.
The fact that cayenne boosts metabolism hints that it might be helpful in maintaining a healthy body weight but the issue goes further than that. A study at he Laval University in Quebec found that test subjects who included cayenne pepper in their breakfast later felt less appetite for further food and thus had a lower calorie intake over the whole day. Cayenne appears to suppress appetite over a matter of hours, although many people enjoy the taste of it initially.
Cayenne can be eaten in food. The dried powder can be added to water or tea or put into capsules and taken as a supplement. For joint and muscle pain a massage oil can be made from 1 tablespoon cayenne, 2 tablespoons crushed mustard seed, 1 tablespoon fresh ginger and 1 cup olive or almond oil. Set the mixture in the sun in a glass jar to infuse for two weeks. Then strain the oil and use it to massage painful joints and muscles. DO NOT use this oil on broken or raw skin. Even so, it may sting initially but is often found to relieve pain better after multiple uses.