
Calm, rest and sleep - the gifts of Valerian: Home Medicine Cycle 38
/My five-year-old daughter raced off the school bus bouncing with delight.
"Mama! Mama! We had green jello!" she gasped in excitement.
My joyful grin froze in place. I tried not show my trepidation. We had begun to suspect that our daughter has a particular sensitivity to artificial food dyes and I'm told green and red are the worst.
Still I could hope...
I did get her into the house at least. But when her three-year-old brother touched her she flew into a rage and hit him, then bit him. I pulled her away, but now they were both screaming. I comforted my startled and hurt son, while holding my daughter firmly on the other side. She fought and kicked, squirmed and screamed. And she tried to bite me.
For most of the next three hours, I held her on my lap while she shuddered and cried. After the first hour or so, she simply whimpered, "I can't stop! I can't stop!"
That was two years ago, when my daughter spent a few days at an American kindergarten, where things like green Jello are all too common.
Due to the specific circumstances of our family, I know something about sedatives and their effects. Both of my children were adopted from Eastern European orphanages and my son--the little brother--was drugged with sedatives from the age of two months until we adopted him when he was ten months old. This delayed his neurological development and he went off of the drugs cold at the time of the adoption, because we were not informed about them..
The following year and a half was a trial for all of us. He was often terrified and he flew into a panic if I moved more than ten feet from him, even within our own home. For a year, we couldn't have visitors, because he was so terrified of strangers.
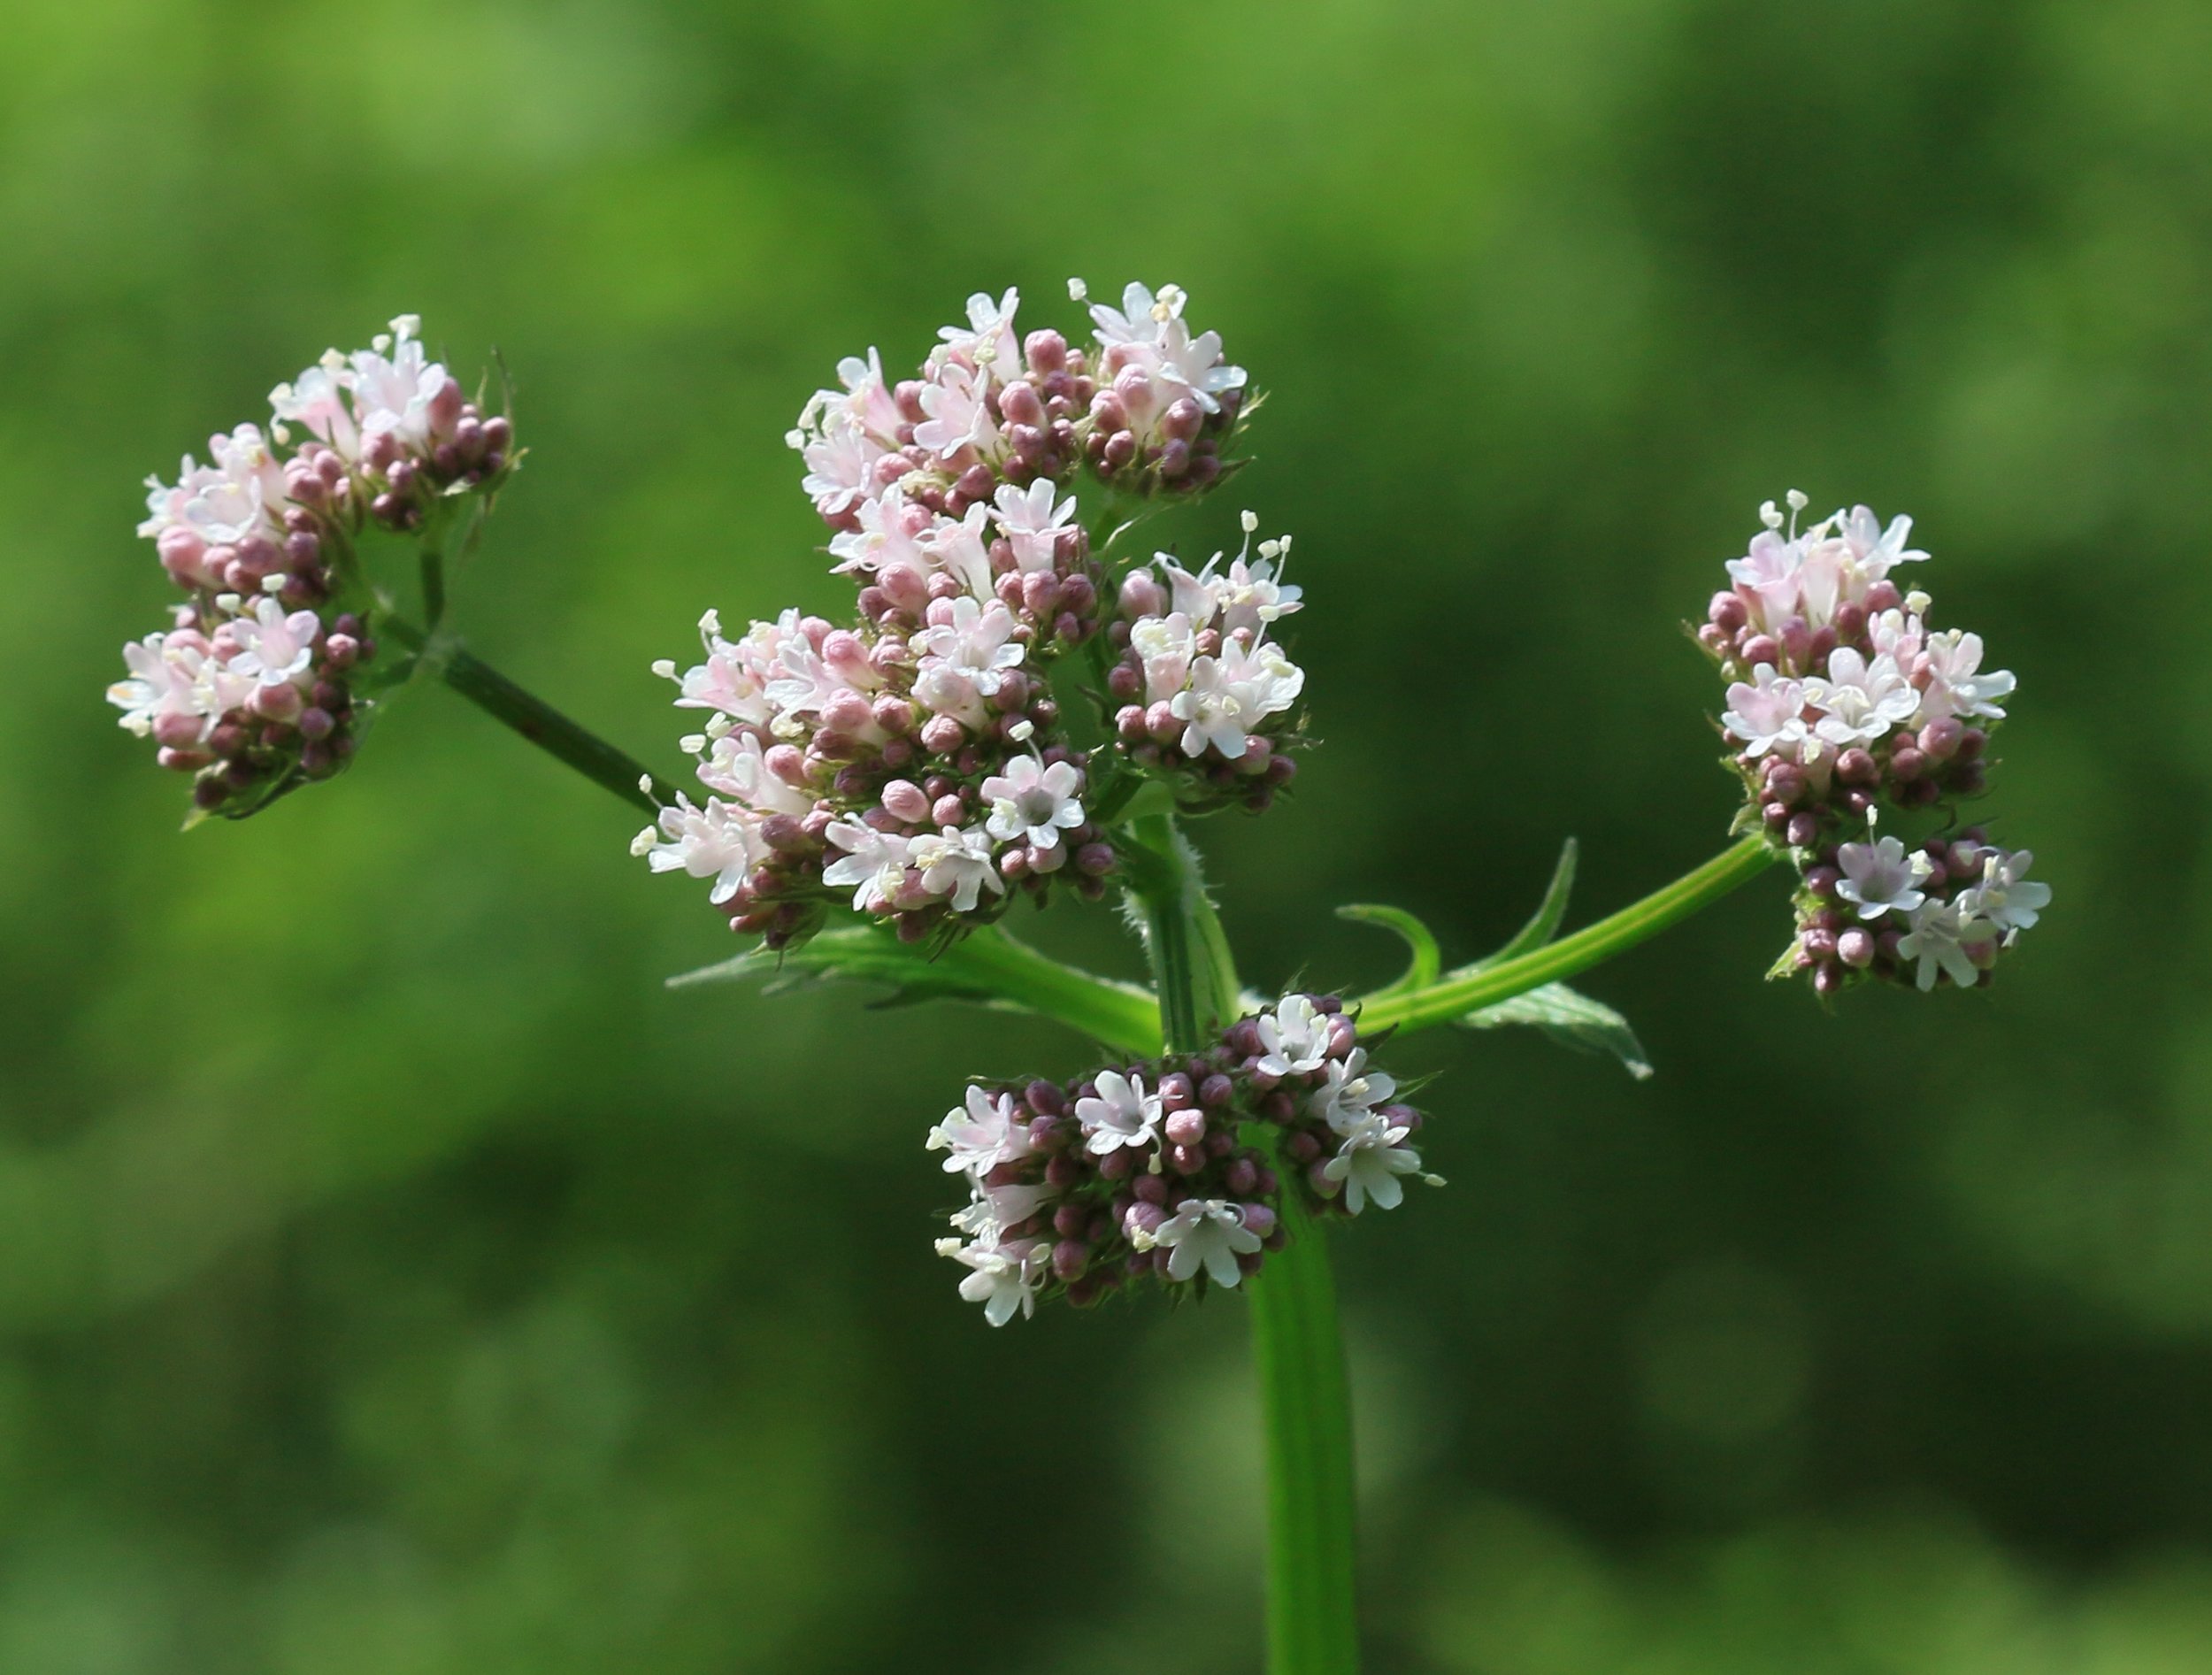
Creative Commons image by S. Rae of Flickr.com
For that and other reasons, my trust in pharmaceuticals is not great, but the situation with my daughter was nearing the point where I thought she might need some sort of medication for what appeared to be hypersensitivity and some fairly extreme stress reactions.
After several very difficult years, I discovered almost by accident, that dried valerian root may be the answer we've been looking for. I found online forums where parents of children with ADHD said valerian did more for their children than pharmaceutical medications. And it just so happened that a fellow herbalist had just sent me a bit of valerian root from across the ocean.
I researched it and found that the best way to administer it is as dried powdered root, so I learned a new herbalist skill--making capsules. It isn't nearly as difficult as I would have thought. You simply buy empty jell capsules, grind the root in a mortar as well as possible and fill the capsules with the powder.
I could even ensure that my daughter got a child's dose this way. And the effect was amazing. If I give my daughter a capsule of valerian when I expect there to be a situation that might trigger her hypersensitivity, she is much calmer. Even in the midst of a meltdown the effects are noticeable a half an hour to an hour after she has swallowed a capsule. Getting her to swallow them is another matter. It was relatively easy at first, but then became more difficult for her to swallow the capsules. If the powder is ground finely enough, she will eat it in honey, which is another option.
Using Valerian
It is interesting that doctors may prescribe valerian for people who are trying to break an addiction to sleeping pills. It helps them sleep as they lower the dose of their pills. However, in this modern age, few doctors will do the obvious thing and just prescribe valerian in the firt place.
Valerian is a gentle, natural sedative without the addictive side-affects of many synthetic sedatives. It helps to calm anxiety, deepen sleep and settle nerves. It is also used for nervous asthma, menstrual cramps and stress-related migraines.
Although there are few reports of adverse effects from taking valerian, it acts on the brain much like a synthetic sedative and one should not drive or operate machinery in the hours after taking a dose of valerian. The United States Food and Drug Administration rates valerian as "generally accepted as safe," but there has not been enough research to determine if it is safe for pregnant and nursing mothers.
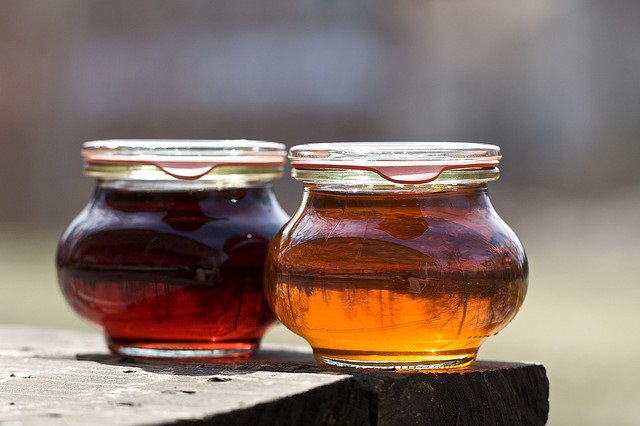
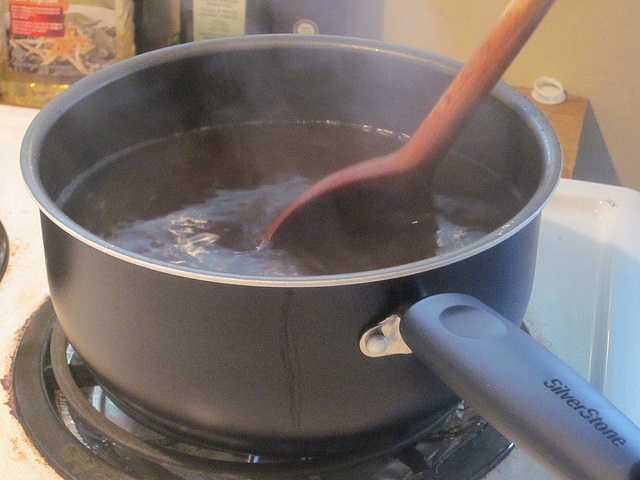
The part of the plant used is the root. Besides making capsules or hiding the powdered root in honey, you can tincture the root (see my recipe for tinctures here) or dry it and use it as a tea (see my tips for brewing the most potent herbal teas here). It makes a very bitter tea and powdered root may be more effective than tincture for some people.
Growing Valerian
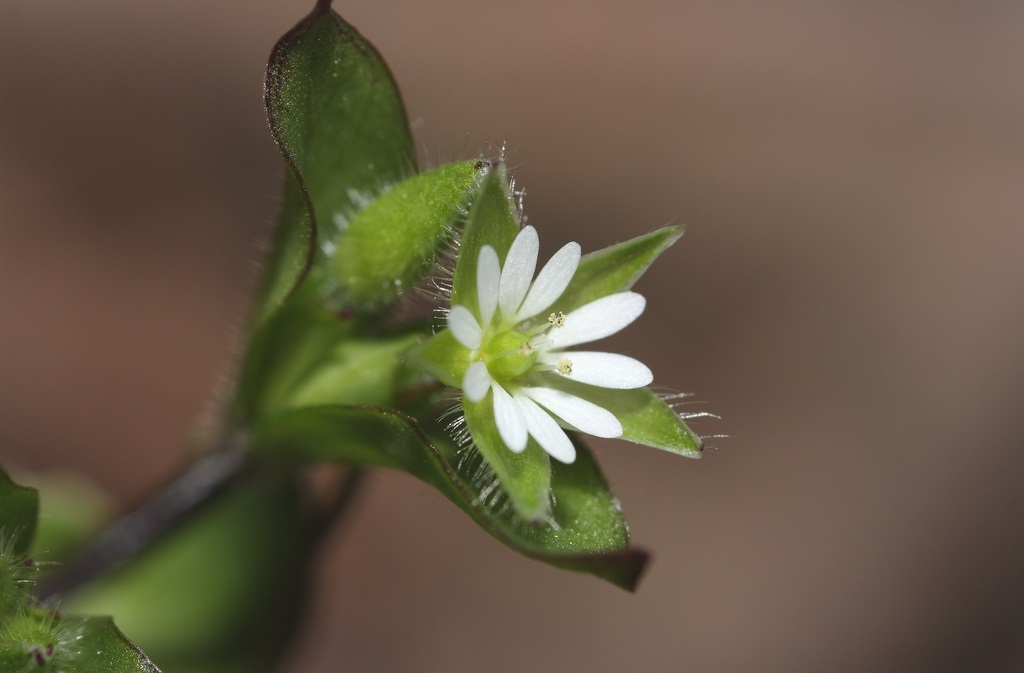
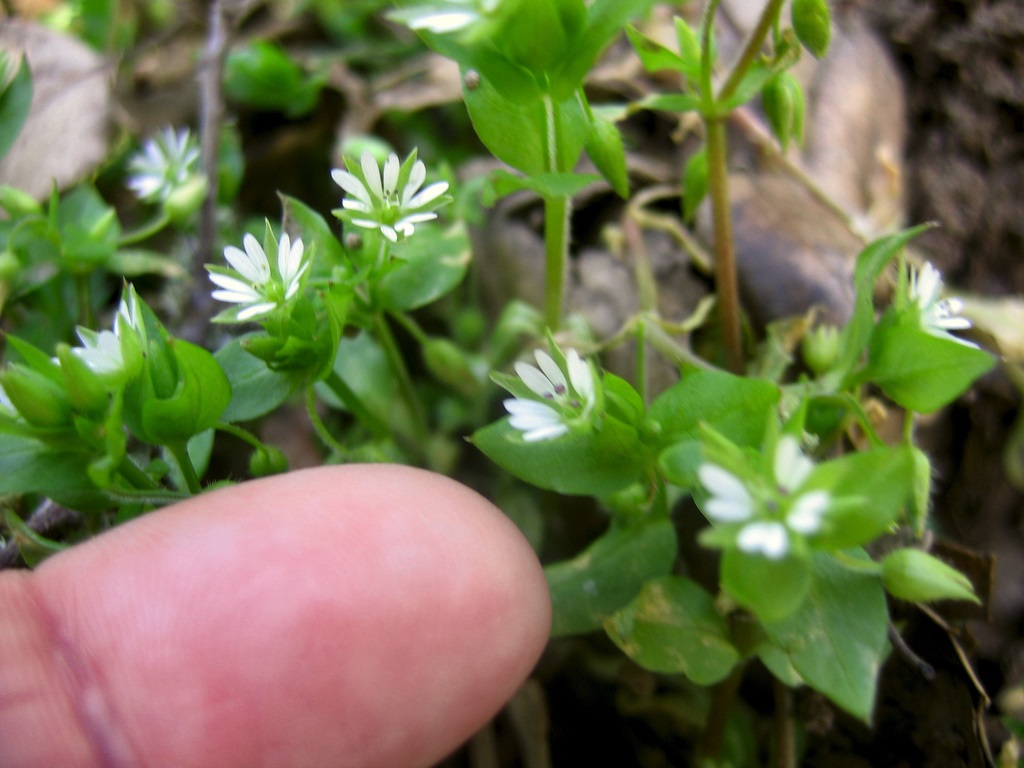
To my great sorrow, valerian is not easy to grow, or more importantly, it is not easy to germinate. I have tried to grow valieran for four years now and I have never been able to raise a good-sized seedling.
Valerian seeds require stratification, which is a process that simulates the effects of a winter spent outdoors. The general directions for stratification are that you should place the seeds on a piece of wet gauze, enclose it in a plastic bag and freeze it for a week, then refrigerate it for a week and repeat this two more times. Then take the seeds out and plant them.
I have tried this for four years now without success, but I know of one herbalist who got these directions from me and followed them and grew valerian. So, it may be more to do with the specific growing conditions of my garden than with the directions for stratification. Good luck to you, if you do try to grow it. I wish you much success, and please come back and tell me if it works. I would much rather grow my own herbs than buy them from unknown sources.
Please feel free to leave comments below about your experiences with herbs, home medicine and growing medicinals. I love hearing from you.